
TL;DR:
- The final walkthrough is a crucial inspection before releasing final payment to ensure all work is complete and meets standards. It allows homeowners to verify systems, finishes, and documentation, reducing costly post-renovation disputes. Skipping or rushing this step can lead to unresolved defects and financial losses.
The final walkthrough is defined as the last formal inspection of a completed renovation before you release final payment to your contractor. This step is not a formality. The role of final walkthrough renovation professionals recognize is your strongest legal and financial tool to confirm that every contracted item is finished, functional, and built to standard. Skip it or rush it, and you lose the leverage that protects your investment.
What is the role of final walkthrough in a renovation?
The final walkthrough is the definitive boundary between a project that looks finished and one that is legally and operationally complete. Industry best practices place this inspection after the contractor declares 100% completion but before you write the final check. That sequence is not accidental. Your contractor’s motivation to fix problems drops sharply the moment you pay in full.
Timing is everything here. Releasing funds early removes your primary source of leverage. A contractor who knows payment is pending will return calls, schedule repairs, and prioritize your punch list. One who has already been paid in full has far less incentive to do so. The final walkthrough significance lies precisely in this financial dynamic.
The inspection also serves a contractual purpose. Your renovation contract defines the scope of work, the materials, and the finish quality. The walkthrough is your chance to verify that reality matches those written commitments. Rockenterprisecontracting treats this step as a formal part of every project, not an afterthought.
Pro Tip: Schedule the walkthrough during daylight hours. Natural light reveals surface defects, paint inconsistencies, and grout gaps that artificial lighting hides.
Key reasons the timing of your walkthrough matters:
- Contractor is still on-site and accountable before final payment
- All subcontractors are still reachable for corrections
- Permit inspections can still be scheduled if needed
- You retain the legal right to withhold payment for unresolved items
What to check during the final walkthrough
Homeowners typically find 15–20 punch list items during a thorough final walkthrough after renovation completion. That number surprises most people. A complete remodel should take 2–3 hours to inspect properly. Anything shorter is a red flag.
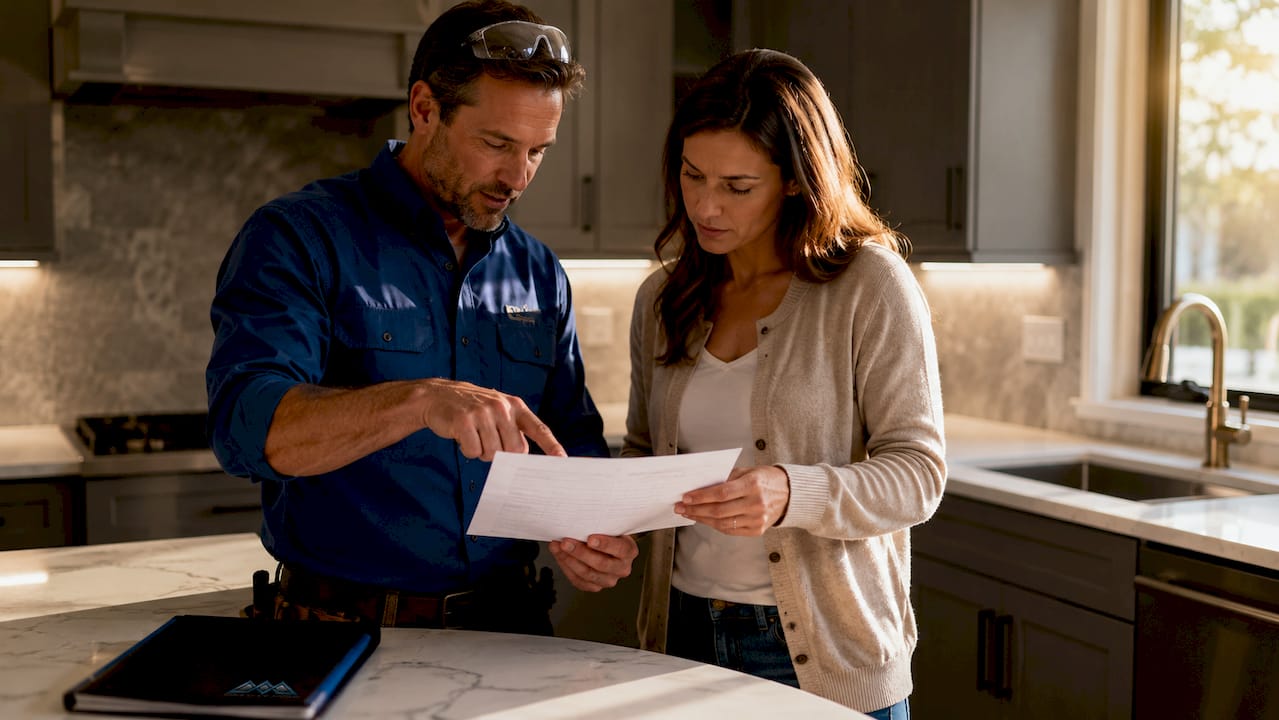
Your final inspection checklist should cover three categories: structural and aesthetic finishes, functional systems, and documentation. Work through the home room by room so nothing gets skipped.
Structural and aesthetic checks
- Inspect all painted surfaces for drips, roller marks, and uneven coverage
- Check tile work for cracked grout, uneven spacing, and lippage between tiles
- Examine all trim, baseboards, and molding for gaps, nail holes, and caulk quality
- Test every door and window: open, close, lock, and check for drafts
- Look at flooring for gaps, squeaks, scratches, and uneven transitions between rooms
- Verify cabinet doors hang level and hardware is tight
- Check countertop seams, edges, and caulk lines for gaps or voids
Functional systems testing
The final walkthrough is the last chance to verify systems integration through functional testing before the contractor leaves. Visual checks alone are not enough. You must run every system.
| System | What to test |
|---|---|
| Plumbing | Run all faucets, flush toilets, check under sinks for leaks |
| Electrical | Test every outlet, switch, breaker, and light fixture |
| HVAC | Run heating and cooling, check all vents for airflow |
| Appliances | Cycle through all installed appliances on every setting |
| Exhaust fans | Turn on bathroom and kitchen fans, confirm airflow |
Pro Tip: Bring a phone charger to test every outlet. It takes seconds and catches wiring issues that a visual check misses entirely.
A detailed renovation completion checklist protects homeowners and reduces post-renovation disputes significantly. Print yours before you arrive and check off each item physically. Do not rely on memory.
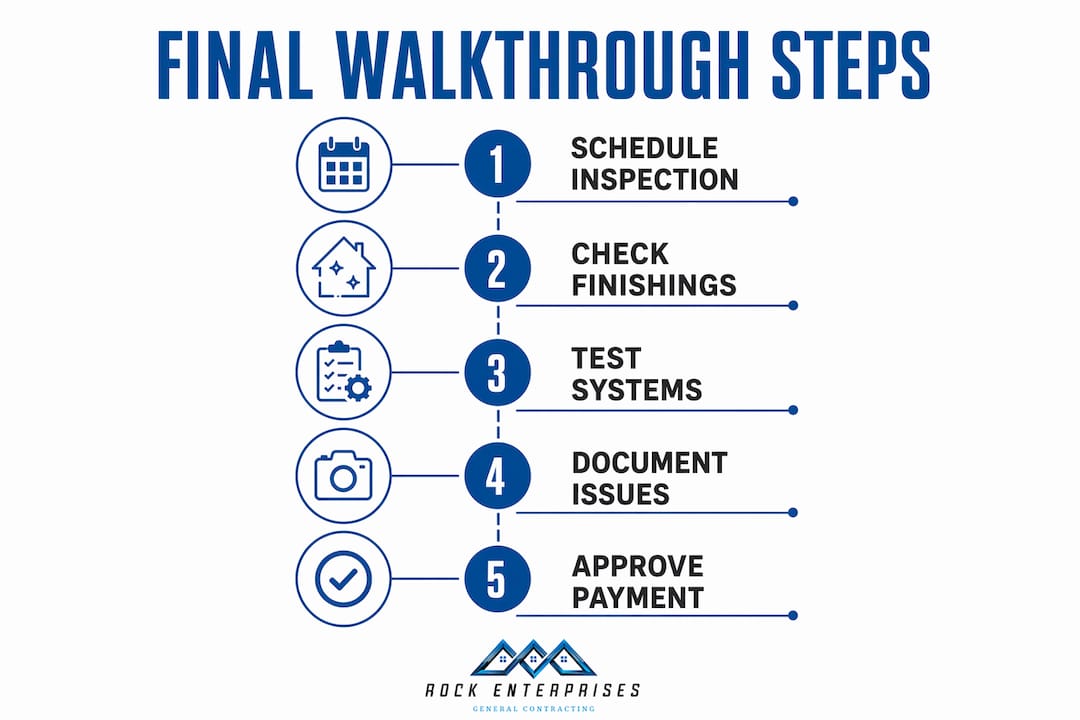
How to document findings and create an effective punch list
A written punch list is the official record of every outstanding item between you and your contractor. Verbal agreements at final walkthroughs are a primary cause of post-renovation disputes. A photo-backed written record eliminates ambiguity and gives you legal standing if the contractor fails to perform.
Your punch list should be specific, not general. “Paint touch-up needed” is weak. “North wall of master bedroom has three roller marks at 5 feet high, photographed” is a record that holds up. Specificity protects you.
How to build a punch list that works:
- Write each item as a single, specific defect with its exact location
- Photograph every item before and after correction
- Number each item so both parties can reference them clearly
- Set a written deadline for each correction, agreed to by the contractor
- Get the contractor’s signature on the completed punch list document
The punch list serves as the official record for contractor obligations and homeowner acceptance. It also activates your contractor warranty once all items are cleared. Keep a copy of the signed document with your renovation contract and permit records.
Understanding your renovation contract terms before the walkthrough helps you know exactly what the contractor is obligated to deliver. That knowledge makes your punch list far more precise.
Common mistakes homeowners make during the final walkthrough
Most homeowners underestimate the cost of skipping a rigorous walkthrough. Responsiveness to punch list items falls drastically after final payment, and homeowners commonly spend $5,000–$10,000 out of pocket on repairs that should have been the contractor’s responsibility. That figure reflects what happens when leverage disappears.
“The walkthrough is a working inspection, not a celebration. Treat it with the same rigor you brought to choosing your contractor in the first place. Your final payment is your most powerful tool. Use it.”
The most costly mistakes homeowners make:
- Letting the contractor rush the process. A professional walkthrough for a full remodel requires 2–4 hours. If your contractor pushes for a 30-minute sign-off, that is a signal, not a convenience.
- Skipping functional system tests. Looking at a faucet is not the same as running it for two minutes to check for leaks beneath the sink.
- Releasing final payment before the punch list is cleared. Payment is your leverage. Once it is gone, so is your contractor’s urgency.
- Ignoring permit closures. An open permit is a legal liability. Confirm that all required inspections are closed and that you have the completion certificate in hand.
- Accepting verbal promises. “I’ll come back and fix that” is not a commitment. A signed punch list with a deadline is.
Common renovation mistakes often follow predictable patterns. Reviewing commercial renovation pitfalls shows that rushed sign-offs and undocumented defects appear across project types and scales.
What happens after the final walkthrough?
The walkthrough is not the end of the project. It is the start of the close-out process. A successful final walkthrough triggers warranty activation and project legal closure, securing permit closure and completion certification vital for resale value and insurance compliance. These documents matter years after the renovation ends.
Steps to complete after your walkthrough:
- Confirm every punch list item is corrected before releasing final payment
- Obtain signed completion documents and all permit closure certificates
- Collect all appliance manuals, warranty cards, and material specifications
- Store photos of the finished work alongside your renovation contract
- Notify your homeowner’s insurance provider of the completed renovation
- Update your home’s appraisal records if the renovation added significant value
Permit closure is the step homeowners most often overlook. An open permit can block a future home sale, complicate insurance claims, and signal to buyers that work was done without proper oversight. Confirm closure in writing from your local building department.
Key Takeaways
The final walkthrough is the single most important step before releasing payment, and skipping it or rushing it costs homeowners thousands in unresolved defects.
| Point | Details |
|---|---|
| Timing preserves leverage | Complete the walkthrough after contractor declares done but before releasing final payment. |
| Expect 15–20 punch list items | A thorough inspection of a full remodel takes 2–3 hours and reveals more than most homeowners expect. |
| Test every system, not just surfaces | Run plumbing, electrical, HVAC, and appliances during the walkthrough to catch hidden defects. |
| Written punch list is non-negotiable | Photo-backed written records prevent disputes and give you legal standing if corrections are refused. |
| Permit closure protects resale value | Obtain all completion certificates before closing out the project to avoid future legal and insurance issues. |
Why I think homeowners underestimate this step every time
I have seen it happen on project after project. A homeowner spends months planning a kitchen remodel, makes every right decision on materials and layout, and then rushes the final walkthrough because they are excited to start using the space. Two months later, they are calling about a cabinet door that never hung right, a grout line that is cracking, or an exhaust fan that was never wired correctly.
The walkthrough feels anticlimactic after the hard work of a renovation. That is exactly why it gets shortchanged. You are tired, you are excited, and the contractor is telling you everything looks great. That moment is precisely when you need to slow down and be methodical.
My honest advice: treat the walkthrough like a job interview for the finished work. Bring your original contract, your checklist, and your phone camera. Walk every room twice. Test every switch, every faucet, every door. The NJ contractor standards that licensed professionals follow give you a clear benchmark for what “complete” actually means. Use that standard.
The homeowners who get the best long-term results from their renovations are not the ones who spent the most money. They are the ones who stayed rigorous through the final step and did not release payment until every item on the punch list was closed.
— ryan
Rockenterprisecontracting walks you through every final step
Rockenterprisecontracting is a licensed, family-owned general contractor based in Shrewsbury, NJ, with a 5.0-star rating on Thumbtack and a 100% positive feedback score. The owner personally oversees every project through completion, including the final walkthrough, so nothing gets missed before you sign off.

Whether you are planning a kitchen remodel or a full bathroom renovation, Rockenterprisecontracting builds the final inspection into every project timeline. The team handles punch list documentation, permit closure coordination, and warranty activation as part of standard service. Explore the personalized renovation services available for Monmouth and Ocean County homeowners and see how a contractor who stays accountable through the final step changes the entire experience.
FAQ
What is the final walkthrough in a renovation?
The final walkthrough is a formal inspection conducted after the contractor declares the project complete but before the homeowner releases final payment. Its purpose is to verify that all work meets the contracted scope and quality standards.
How long should a renovation final walkthrough take?
A thorough final walkthrough for a full remodel takes 2–3 hours. Anything shorter risks missing defects that become the homeowner’s problem after payment is released.
What is a punch list and why does it matter?
A punch list is a written record of every unresolved defect or incomplete item identified during the walkthrough. It serves as the official document for contractor obligations and must be signed by both parties before final payment.
Should I release final payment before the punch list is cleared?
No. Releasing final payment before all punch list items are corrected removes your leverage entirely. Homeowners who pay early commonly spend thousands out of pocket on repairs the contractor should have covered.
Does the final walkthrough affect my home’s resale value?
Yes. A completed walkthrough that results in proper permit closure and signed completion certificates protects your resale value and keeps your homeowner’s insurance coverage valid for the renovated areas.