
TL;DR:
- A carpentry finishing techniques checklist ensures quality control through surface prep, installation, finish application, and inspection. Proper surface preparation influences up to 80% of the final result, making disciplined steps essential for a professional finish. Regular punch list walkthroughs before project completion help detect and fix defects early, ensuring long-lasting quality.
A carpentry finishing techniques checklist is defined as a structured set of quality checkpoints covering surface preparation, installation sequencing, finish application, and final inspection. Finish carpentry is the visible layer of any renovation, and every flaw in it stays visible for years. Surface preparation alone influences up to 80% of the final result, which means no amount of premium stain or polyurethane rescues poorly sanded wood. Following a disciplined checklist for carpentry techniques keeps your project on track from raw wood to final walkthrough.
1. What is a carpentry finishing techniques checklist?
A carpentry finishing techniques checklist is a step-by-step quality control tool used by both DIY homeowners and professional carpenters. It covers every phase of a finish carpentry project: surface prep, material acclimation, installation, finish application, and punch list review. The checklist format prevents the most common cause of rework, which is skipping a step because it feels minor. Rockenterprisecontracting uses this exact approach on every renovation in Monmouth and Ocean County to deliver consistent, professional results.
2. Key surface preparation steps for flawless wood finishing
Surface preparation determines about 80% of finish quality. No high-end finish hides poor sanding. Get this phase right, and every coat you apply afterward looks intentional.
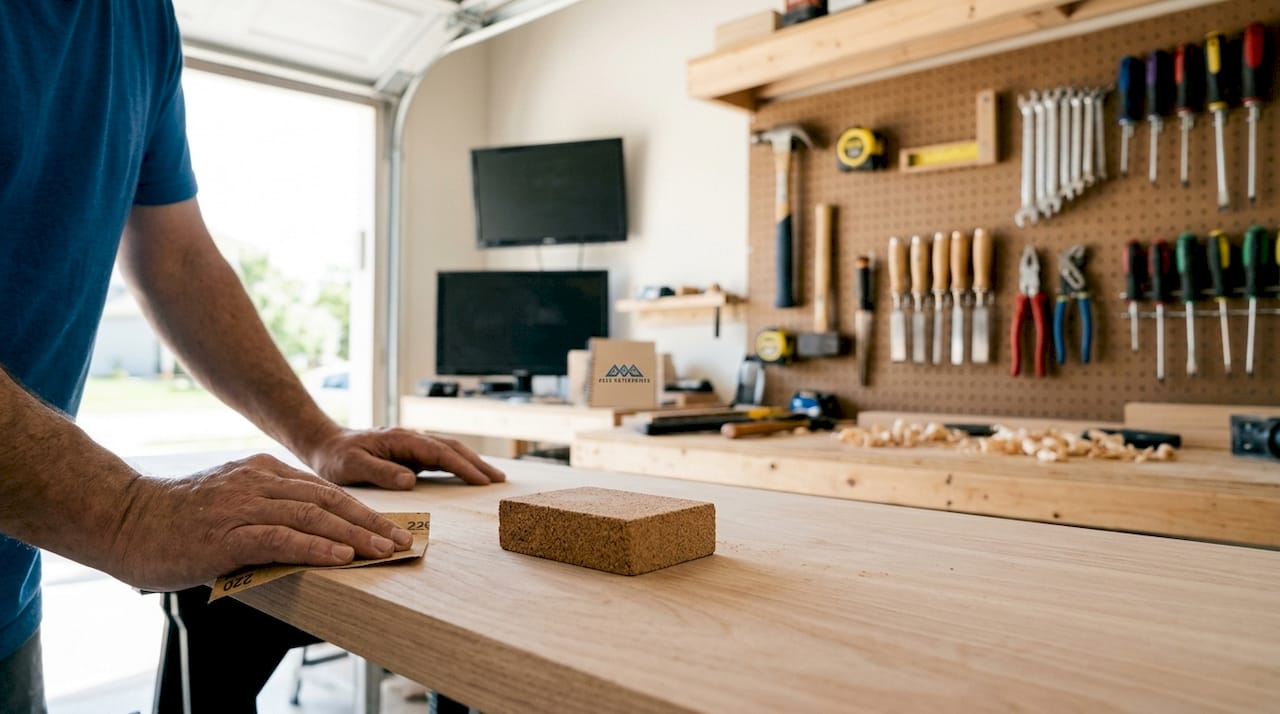
The correct sanding progression runs from 120 grit up to 220 grit, always moving with the wood grain. Sanding across the grain leaves scratches that become visible the moment stain touches the surface. After reaching 220 grit, dampen the wood lightly with a wet cloth, let it dry fully, then sand the raised grain back down with 220 grit or finer. This step closes the wood fibers and produces a noticeably smoother final surface.
Open-grain species like oak and ash need grain filler before any topcoat. Without it, finish pools in the pores and creates an uneven texture. After all sanding is complete, vacuum the surface thoroughly, then wipe it down with a tack cloth to remove every trace of dust. Dust trapped under a finish coat creates a rough, gritty texture that cannot be fixed without stripping back to bare wood.
Common surface prep mistakes to avoid:
- Skipping grits (jumping from 80 to 220 leaves deep scratches)
- Sanding across the grain at any stage
- Skipping the grain-raising step before the first finish coat
- Applying finish over a dusty surface
- Using a worn tack cloth that deposits residue instead of removing it
Pro Tip: Wipe the sanded surface with a damp cloth and hold a raking light at a low angle. Any remaining scratches or mill marks show up immediately under that light before you commit to a finish coat.
3. Best practices for precise finish carpentry installation
Installation order matters as much as technique. The correct sequence is crown molding first, door and window casings second, and baseboards last. This order lets each piece terminate cleanly against the next without awkward gaps or forced cuts.
Before any piece goes up, check walls for plumb and corners for square. Most residential walls are neither perfectly plumb nor perfectly square. Knowing the actual angles lets you cut trim to fit the real wall, not the theoretical one. Material acclimation to 6–8% moisture content is non-negotiable for indoor finish carpentry. Wood that goes up at the wrong moisture level will shrink, swell, or gap within one heating season.
Scribing and coping joints outperform simple mitered corners in real homes. Coped inside corners stay tight through seasonal wood movement and home settling, while mitered corners open up as the house shifts. Scribing lets you fit trim against an irregular wall surface without relying on caulk to fill the gap.
Installation checklist items:
- Acclimate all trim and millwork for at least 48–72 hours in the room where it will be installed
- Check every corner with a digital angle finder before cutting
- Install crown molding before casings, casings before baseboards
- Use pilot holes near ends of trim to prevent splitting
- Drive nails at a slight angle for better holding power in drywall
- Cope inside corners rather than mitering them
Pro Tip: Leave trim pieces slightly long on the first cut. Sneak up on the final fit with a block plane or fine rasp rather than cutting short and having to start over.
4. Choosing and applying the right wood finish
The right finish depends on three factors: how the surface will be used, how much maintenance you are willing to do, and the look you want. Penetrating finishes like oils soak into the wood fiber, enhance natural grain, and are easy to spot-repair. Film-forming finishes like polyurethane and lacquer sit on top of the wood and provide maximum durability and moisture resistance.
Finish types at a glance
| Finish type | Best use case | Repair ease |
|---|---|---|
| Penetrating oil | Furniture, low-traffic surfaces | Easy spot repair |
| Polyurethane | Floors, high-traffic trim | Requires full recoat |
| Lacquer | Cabinets, fine millwork | Moderate, spray-applied |
| Wax | Decorative pieces | Very easy, frequent reapplication |
| Paint | Trim, doors, casings | Easy touch-up |
Stains are not a finish. They add color but provide no protection. Always apply a sealer or topcoat over stain. Compatibility matters: oil-based stains need oil-based topcoats, and water-based stains pair with water-based finishes. Mixing incompatible products causes adhesion failure and peeling.
The application sequence for a film finish runs: sand to 220 grit, apply stain if desired, let dry fully, apply first topcoat, let cure, sand lightly with 320 grit, apply second topcoat, and repeat for a third coat on high-use surfaces. Sanding between coats removes dust nibs and gives the next coat a mechanical bond. Skipping inter-coat sanding produces a finish that looks thick and plastic rather than smooth and refined.
Drying time and curing time are different things. Oil-based polyurethane may feel dry to the touch in 24 hours but needs a full 30 days to reach maximum hardness. Putting heavy objects on a “dry” floor before it cures leaves permanent dents.
Pro Tip: Thin your first coat of oil-based finish by about 10% with mineral spirits. A thinned first coat penetrates deeper and bonds better to the wood, giving every subsequent coat a stronger foundation.
5. Performing a thorough final inspection and punch list review
A punch list walkthrough conducted 14–30 days before final payment gives you the time to identify and correct defects without the pressure of an imminent deadline. Waiting until the last day to inspect means defects get rushed fixes or get missed entirely.
Categorize every item you find into one of three groups: functional defects (drawers that stick, doors that bind), incomplete work (unpainted edges, missing hardware), and cosmetic issues (paint drips, inconsistent caulk lines). This system keeps the list organized and helps you prioritize what gets fixed first. Functional defects always come before cosmetic ones.
A ‘Definition of Done’ for each finishing task avoids rework. Paint is not done until it passes a lighting inspection. Caulk is not done until it shows no visible gaps or inconsistencies. Inspect every surface under varied lighting, because defects invisible in flat daylight become obvious under raking or artificial light.
Rockenterprisecontracting builds mini-walkthroughs into every project phase rather than saving all inspection for the end. Catching a bad joint during installation takes five minutes to fix. Catching it after paint and caulk have been applied takes an hour.
Punch list inspection checklist:
- Test every drawer and door for smooth operation
- Check all paint edges and caulk lines under a flashlight held at a low angle
- Verify consistent reveals on all trim pieces (gaps between trim and door/window frames should be uniform)
- Look for tight joints rather than heavy caulk coverage
- Confirm all hardware is installed, tightened, and aligned
- Check that all nail holes are filled and sanded flush
Key Takeaways
A disciplined carpentry finishing techniques checklist, covering surface prep, installation sequencing, finish selection, and final inspection, is the single most reliable way to achieve professional-quality results on any renovation project.
| Point | Details |
|---|---|
| Surface prep drives quality | Sanding from 120 to 220 grit with the grain determines up to 80% of the final finish result. |
| Installation order matters | Crown molding goes first, then casings, then baseboards, to ensure clean terminations at every joint. |
| Acclimate all materials | Wood must reach 6–8% moisture content before installation to prevent gaps and buckling. |
| Choose finish by use case | Penetrating oils suit low-traffic surfaces; film finishes like polyurethane protect high-traffic areas best. |
| Inspect early and often | Punch list walkthroughs 14–30 days before final payment catch defects while they are still cheap to fix. |
What I have learned from years of finish carpentry
The single biggest mistake I see on DIY projects is treating the checklist as optional. Carpenters who skip the grain-raising step or rush material acclimation always pay for it later, usually after the finish is already on and the problem is locked in.
The detail that separates a professional finish from an amateur one is not the brand of polyurethane or the price of the trim. It is the discipline to check walls for plumb before cutting a single piece, to cope inside corners instead of mitering them, and to run a flashlight along every painted surface before calling it done. These habits cost nothing but time, and they are the reason some projects look like magazine photos while others look like a weekend project.
I also push every homeowner I work with to buy a moisture meter. It costs less than a dinner out and prevents the most common and most expensive finish carpentry failure: wood movement after installation. Pair that with joinery techniques that accommodate seasonal movement, and your trim will still look tight in ten years.
The final walkthrough is not the finish line. It is the last checkpoint in a process that should have been running from day one. Projects that win on the final inspection are the ones where someone was paying attention at every phase, not just at the end.
— ryan
Rockenterprisecontracting’s approach to finish carpentry
Rockenterprisecontracting brings the same disciplined checklist approach to every renovation project across Monmouth and Ocean County, NJ. The owner personally oversees each job, which means the surface prep, installation sequencing, and final inspection standards described in this article are applied on-site, not just on paper.

Whether you are planning a custom kitchen renovation or a full bathroom remodel, finish carpentry quality determines how the space looks and holds up for years. Rockenterprisecontracting’s 5.0-star rating on Thumbtack reflects a track record of getting those details right. If you want to see how renovation increases home comfort and long-term value, their team is ready to walk you through the options for your home.
FAQ
What does a carpentry finishing techniques checklist include?
A carpentry finishing techniques checklist covers surface preparation, material acclimation, installation sequencing, finish application, and final punch list inspection. Each phase has specific quality criteria that must be met before moving to the next step.
How much does surface preparation affect the final finish?
Surface preparation influences up to 80% of the final wood finishing result. No topcoat, regardless of quality, can hide scratches or uneven surfaces left by poor sanding.
What moisture content should wood have before installation?
Indoor finish carpentry materials should reach 6–8% moisture content before installation. Wood installed at the wrong moisture level will shrink or swell, causing gaps and buckling within one heating season.
When should a punch list inspection happen?
A punch list walkthrough should happen 14–30 days before final payment to allow time for defect correction without deadline pressure. Categorize items as functional defects, incomplete work, or cosmetic issues to address them in the right order.
What is the difference between penetrating and film-forming finishes?
Penetrating finishes like oils soak into the wood and are easy to spot-repair, while film-forming finishes like polyurethane sit on the surface and provide stronger moisture and wear resistance. The right choice depends on how much traffic the surface will see and how much maintenance you are willing to do.