TL;DR:
- Finish carpentry involves installing visible woodwork that gives a home its polished look, while rough carpentry focuses on building structural framework unseen by occupants. Skilled finish carpenters emphasize precision, visual judgment, and sequencing, contrasting with rough carpenters’ focus on speed and structural integrity. Proper coordination and understanding of each trade’s unique standards are essential for a successful renovation project.
Finish carpentry is defined as the installation of visible woodwork, trim, moldings, doors, and cabinetry that gives a home its polished, final appearance. Rough carpentry, by contrast, builds the structural skeleton: framed walls, roof trusses, subfloors, and load-bearing supports that never see a coat of paint. Understanding why finish carpentry differs from rough carpentry matters for every homeowner planning a renovation, because the two trades demand different tools, tolerances, sequencing, and skill sets. Confusing them leads to budget surprises, scheduling errors, and work that has to be redone.
Why finish carpentry differs from rough carpentry: the core distinction
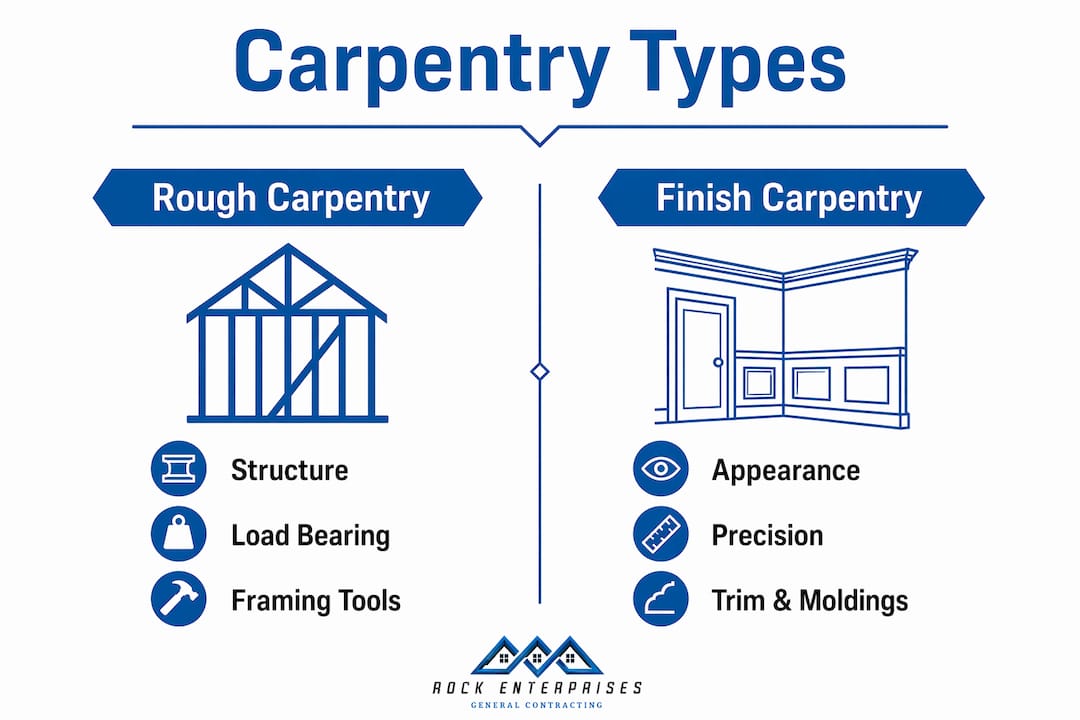
The simplest way to separate these two trades is by what they prioritize. Rough carpentry focuses on framing walls, roofs, and floors using heavy timber, plywood, and dimensional lumber, with structural integrity and building code compliance as the primary goals. Finish carpentry prioritizes what you actually see: the baseboards, crown molding, window casings, and built-in shelving that define a room’s character. The difference is not just cosmetic. It reflects two entirely separate workflows, material standards, and professional skill sets.
Rough carpentry happens early in a project, before drywall goes up. Finish carpentry happens last, after drywall is hung, taped, and primed. That sequencing gap alone explains why the two trades rarely overlap in practice, and why a framer who is excellent at structural work may struggle with the visual judgment that finish carpentry demands.
What tasks and techniques define rough carpentry?
Rough carpentry is the foundation every other trade builds on. Its core tasks include:
- Wall framing: Installing studs, top plates, and bottom plates to create the structural grid of a room.
- Roof framing: Cutting and setting rafters or trusses to carry the roof load.
- Floor systems: Building subfloors with plywood or OSB over floor joists.
- Structural supports: Installing headers above door and window openings to transfer load around the opening.
- Sheathing: Applying plywood or OSB to exterior walls for rigidity and weather resistance.
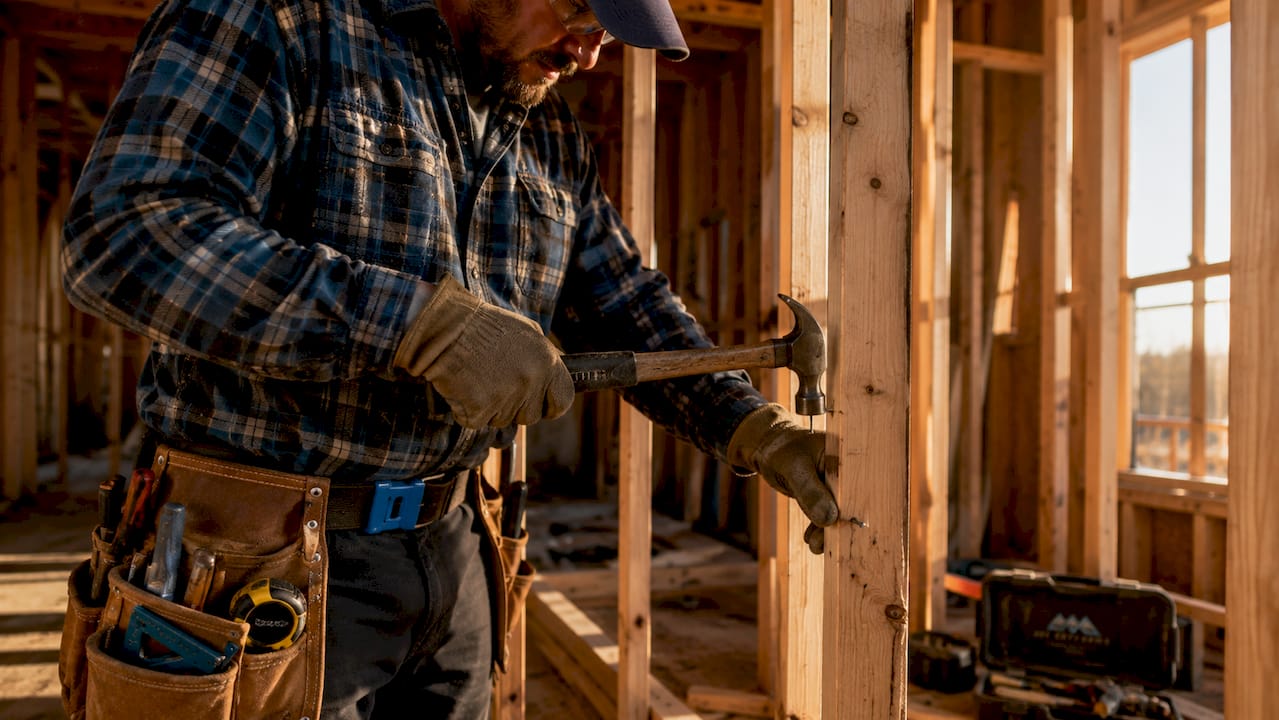
The tools of rough carpentry reflect its priorities: a framing hammer or pneumatic framing nailer, a circular saw, a framing square, and a chalk line. Speed and structural accuracy matter far more than a clean cut edge. A framing nail driven slightly off-center is irrelevant once drywall covers it. What matters is that the wall is plumb, the floor is level, and the structure meets local building codes.
Rough carpentry uses heavy timber and framing lumber aimed at load capacity, not appearance. A 2×4 stud does not need to look beautiful. It needs to hold up a wall for decades. This distinction in material standards directly shapes the skill set a rough carpenter develops: reading structural drawings, calculating load paths, and working efficiently across large areas.
How does finish carpentry differ in tasks, techniques, and precision?
Finish carpentry is where a house becomes a home. The tasks involved include:
- Trim and molding installation: Baseboards, crown molding, chair rails, and picture rails.
- Door and window casing: Framing the visible perimeter of every opening.
- Cabinetry and built-ins: Installing kitchen cabinets, bathroom vanities, and custom shelving.
- Stair components: Handrails, balusters, newel posts, and treads.
- Wainscoting and paneling: Decorative wall treatments that require precise layout and consistent reveals.
The tools shift entirely. A miter saw replaces the circular saw as the primary cutting tool, because miter angles on trim must be exact. A brad nailer drives small finish nails that leave minimal holes. A coping saw cuts the profile of one molding piece to fit over another, creating a joint that stays tight even as wood expands and contracts seasonally. Chisels, block planes, and card scrapers handle fine fitting work that no power tool can replicate.
Finish carpentry tolerance within 1/8 inch of plumb is considered acceptable in real-world trim and wainscoting installs. That number sounds precise until you realize it is a visual standard, not just a dimensional one. A piece of trim that is technically plumb can still look wrong if the surrounding drywall corners are out of square. Experienced finish carpenters balance plumb and square with what looks right visually, adjusting their layout to compensate for imperfect substrates rather than forcing geometric perfection onto a crooked wall.
Pro Tip: Before installing any trim, hold a long straightedge against your wall and check for humps or hollows. A wall that bows out 3/8 inch in the center will cause your baseboard to gap at the ends. Scribing or shimming the trim before nailing saves hours of caulk work later.
Finish carpenters also shift layout start points or relocate outlet boxes to maintain symmetrical reveals and aesthetic consistency. That kind of problem-solving is invisible to the homeowner when done well, and painfully obvious when skipped.
Why sequencing and trade coordination matter in finish carpentry
Finish carpentry does not happen in isolation. It sits at the intersection of multiple trades, and the order of operations directly affects the quality of the final result. The standard sequence runs like this:
- Hang and finish drywall. All taping, mudding, and sanding must be complete before any trim goes up.
- Prime the walls. Primer seals the drywall and provides a base coat that reveals surface imperfections before trim is installed.
- Install trim and moldings. With walls primed, trim can be nailed, coped, and mitered into place.
- Caulk and fill nail holes. Every gap between trim and wall gets caulked. Every nail hole gets filled with lightweight spackle.
- Apply final paint coats. The painter cuts in along the trim and rolls the walls for a clean, finished look.
This sequence differs fundamentally from rough carpentry, which occurs before drywall and has no dependency on paint or caulk timing. Skipping steps or reversing the order creates rework. Installing trim before walls are primed means the painter has to cut in against raw wood, which absorbs paint unevenly and produces a ragged line.
Humidity influences drying rates for both paint and wood trim, which means environmental conditions are an active variable in finish carpentry quality. Wood trim installed in a high-humidity environment before the HVAC system is running can swell, buckle, or open joints after the house dries out. Rough carpentry framing lumber tolerates these swings far better because it is hidden and structural, not decorative.
Trade sequencing and coordination significantly influence finish carpentry quality and project efficiency. A finish carpenter who arrives before the painter has primed is not being inefficient. They are protecting the work from a sequence error that would cost everyone time.
Finish vs. rough carpentry: side-by-side comparison
| Category | Rough Carpentry | Finish Carpentry |
|---|---|---|
| Primary focus | Structural integrity and code compliance | Aesthetics and visual alignment |
| Typical materials | Framing lumber, plywood, OSB, heavy timber | MDF, hardwood, paint-grade trim, stained moldings |
| Key tools | Framing nailer, circular saw, framing square | Miter saw, brad nailer, coping saw, chisels |
| Tolerance standard | Structural plumb and level per code | Within 1/8 inch, adjusted for visual context |
| Project phase | Before drywall | After drywall, priming, and rough paint |
| Skill emphasis | Speed, load calculation, code knowledge | Visual judgment, joinery precision, trade coordination |
This table captures the differences in carpentry types at a glance, but the most important column is the last one. Skill emphasis is where the two trades diverge most sharply, and it is why a skilled framer does not automatically become a skilled trim carpenter.
Common misconceptions and practical tips for DIYers
The biggest misconception about finish carpentry is that better tools produce better results. Skill and visual judgment outweigh costly equipment for finish carpentry. A $2,000 miter saw does not cope a joint for you. A $300 saw in experienced hands produces cleaner work than an expensive one operated without practice.
Here are the most common mistakes DIYers make when attempting finish or rough carpentry:
- Skipping the layout plan. Finish carpentry requires knowing where every piece starts and ends before the first nail goes in. Wainscoting panels that are not centered on a wall look amateur regardless of how tight the joints are.
- Ignoring moisture content in wood. Trim installed at high moisture content will shrink and open joints after the heat comes on. Let trim acclimate in the space for at least 48 hours before cutting.
- Treating rough carpentry as a DIY shortcut. Framing errors compound. A wall framed out of plumb by half an inch creates problems for every trade that follows, including your finish carpenter.
- Rushing caulk and fill steps. Tight joints, consistent reveals, and careful caulking differentiate professional finish carpentry from amateur attempts. Caulk is not a gap filler. It is a precision tool used in thin, consistent beads.
- Underestimating the learning curve. Rough carpentry basics can be learned relatively quickly. Finish carpentry techniques, particularly coping and scribing, take repetition to master.
Pro Tip: When installing baseboard in a room with out-of-square corners, cope the inside joints instead of mitering them. A coped joint stays tight as the wood moves seasonally, while a mitered inside corner opens up and shows a gap within one heating season.
Knowing when to hire a professional is itself a skill. For structural framing that affects load paths or requires permits, the cost of a licensed contractor is almost always worth it. For finish carpentry, a homeowner with patience and the right tools can handle straightforward baseboard and casing work. Complex built-ins, crown molding, or stair components are better left to specialists.
Key takeaways
Finish carpentry and rough carpentry are distinct trades with different materials, tools, tolerances, and sequencing requirements, and treating them as interchangeable leads to costly project errors.
| Point | Details |
|---|---|
| Different phases, different goals | Rough carpentry builds structure before drywall; finish carpentry installs visible trim and millwork after priming. |
| Tolerance is visual, not just dimensional | Finish carpentry targets 1/8-inch plumb, adjusted for what looks right given imperfect walls and substrates. |
| Sequencing protects quality | Installing trim before walls are primed or after humidity spikes causes rework and joint failures. |
| Skill beats equipment | Visual judgment, coping technique, and layout planning matter more than the price of your miter saw. |
| Know your limits | Structural framing requires code knowledge; complex finish work requires practiced joinery skills. |
What I’ve learned from watching these two trades side by side
After years of overseeing renovation projects across Monmouth and Ocean County, the distinction between finish and rough carpentry is one I explain to homeowners on nearly every job. The framing crew works fast, loud, and with a structural logic that is almost mathematical. The finish carpenter works slowly, quietly, and with a visual logic that is closer to art than engineering.
The hardest lesson I have seen DIYers learn is that finish carpentry does not reward impatience. A framer who rushes loses a few minutes. A finish carpenter who rushes loses the whole room. One gap in a coped joint, one reveal that wanders by 3/16 of an inch across a run of wainscoting, and the eye catches it every time you walk in.
What surprises most homeowners is how much finish carpentry depends on the trades that came before it. If the drywall corners are badly out of square, the trim carpenter is solving a geometry problem before they ever pick up a nail gun. That is why consistent reveals and clean paint lines are the real measure of a finish carpenter’s skill. They are evidence that someone managed all the imperfections upstream and still delivered something that looks intentional.
My honest advice: respect both trades for what they are. Do not assume that because you can frame a wall, you can install crown molding. And do not assume that because finish carpentry looks simple, it is.
— ryan
How Rockenterprisecontracting handles both carpentry phases for your renovation
If you are planning a renovation in Monmouth or Ocean County and want both phases done right, Rockenterprisecontracting coordinates the full sequence from structural framing through finish carpentry installation and final trim work. The owner personally oversees every project, which means the handoff between rough framing, drywall, and finish carpentry is managed by someone who understands how each phase affects the next.

Whether you need trim and molding installed with tight reveals or a full kitchen remodel that requires both structural and finish work, the team brings the same 5.0-star standard to every phase. Start with the home renovation guide to see how Rockenterprisecontracting approaches projects from foundation to finish, or browse the portfolio to see completed work across kitchens, bathrooms, and custom interiors.
FAQ
What is the main difference between finish and rough carpentry?
Rough carpentry builds the structural framework of a building, including walls, floors, and roofs, using framing lumber and plywood. Finish carpentry installs the visible woodwork, trim, moldings, and cabinetry that give a space its finished appearance.
What tools do finish carpenters use that rough carpenters don’t?
Finish carpenters rely on miter saws, brad nailers, coping saws, chisels, and block planes for precise joinery and clean cuts. Rough carpenters prioritize framing nailers, circular saws, and framing squares built for speed and structural accuracy.
Why does finish carpentry require tighter tolerances than rough carpentry?
Finish carpentry tolerances within 1/8 inch are necessary because any deviation in trim or molding alignment is immediately visible to the homeowner. Rough carpentry tolerances are governed by structural codes, not visual standards.
When in a renovation project does finish carpentry happen?
Finish carpentry follows drywall hanging, taping, and priming, and precedes final paint coats. Rough carpentry happens at the start of construction, before any drywall is installed.
Can a DIYer do their own finish carpentry?
Straightforward tasks like baseboard and door casing installation are achievable for a patient DIYer with a miter saw and brad nailer. Complex work like crown molding, built-ins, or stair components requires practiced joinery skills and is better handled by a professional.